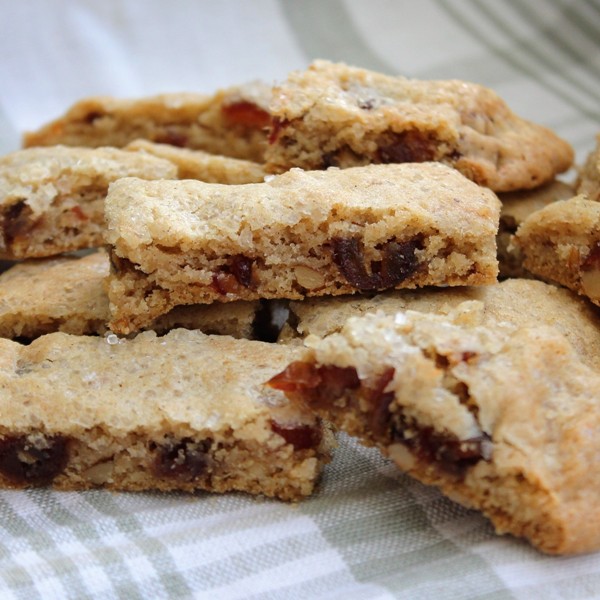
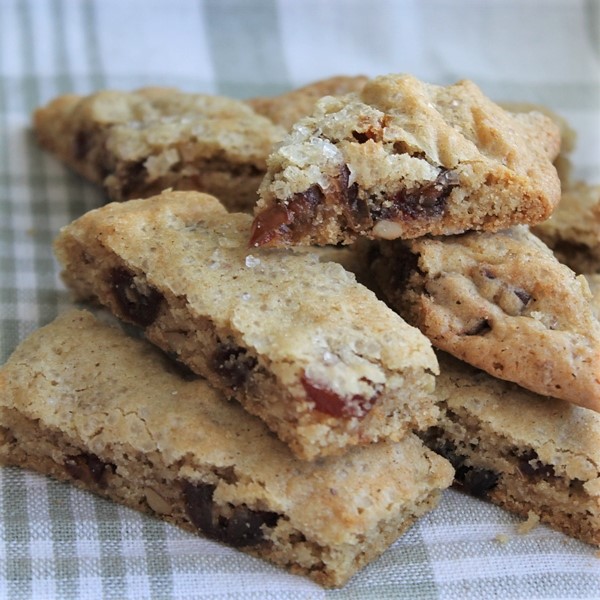
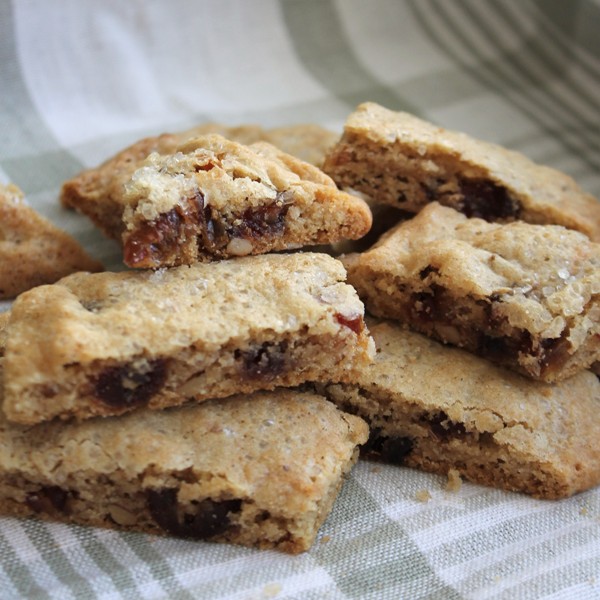
This year I've decided to try a bunch of new baking recipes in anticipation of the holidays. Holiday Date Nut Cookie Bars originally comes from an old Penzey's magazine (remember that wonderful short-lived Penzey's magazine?).
I've had it for years, waiting for the right time to make it.
Except for chopping the dates (which is a sticky business) and the walnuts, these cookie bars are easy to make.
Cinnamon, nutmeg, and cloves provide that wonderful holiday smell while they're baking. They're definitely warm and comforting.
Not everyone is crazy about dates, but they do go well in these little cookie bars, along with the crunchy walnuts. Holiday Date Nut Cookie Bars aren't fancy or decadent - they're rather simple, well-spiced, and very tasty. I like the addition of the crunchy sugar sprinkled on top.
If you're looking for a 'wow' cookie, this probably isn't it. But if you're looking for a delicious addition to the holiday cookie platter, this is it.
I got a 'hey, these are good" from Bret - that's high praise! Warm and inviting, they go well with a cup of tea or hot apple cider.

Holiday Date Nut Bar Cookies
Simple, soft cookie bars with cinnamon, nutmeg, cloves, chewy dates and walnuts.
Ingredients
- 1 C (2 sticks) butter, room temperature
- 2 C sugar
- 3 large eggs
- 1 teaspoon baking soda
- 2 teaspoon water
- 3 C flour
- 1 teaspoon ground cinnamon
- ½ teaspoon ground nutmeg
- ⅛ teaspoon ground cloves
- ⅛ teaspoon salt
- 1 C chopped dates
- 1 C chopped walnuts
- decorating sugar (I used Wilton's)
Instructions
- In a large mixing bowl, cream the butter and sugar together until smooth. Add the eggs, one at a time, mixing thoroughly.
- In a small cup, mix the baking soda with the water and then add and mix into the butter mixture.
- In a medium bowl, stir the flour, cinnamon, nutmeg, cloves, and salt together. Add the dry ingredients one cup at a time into the butter mixture and mix until combined. Remove the mixing bowl from the stand and stir in the walnuts and dates by hand. Chill in the refrigerator for 1 hour to firm up some.
- Preheat oven to 350°. Divide the dough into 8 pieces. On a very lightly floured surface, roll one piece into a 7 to 8 inch roll, about one inch in diameter. Place on an ungreased cookie sheet and repeat with the rest of the dough. Make sure the rolls are at least 3" apart as they will spread.
- Press each roll lightly with your fingers along the length of the roll until the dough is about one-half the thickness of the original roll. Sprinkle each flattened roll generously with decorating sugar.
- Bake for 19-21 minutes (don't over bake). Let sit on the cookie sheets for 1 to 2 minutes, then slice the bars on a diagonal into about 1 inch wide strips. If you want smaller bars, cut the bars again (also on a diagonal so they end up looking almost like a diamond).
- Using a spatula, move the cookie bars to a rack to cool. Store in an air-tight container for 2 to 3 days.
Notes
Tips and Stuff:
Dough is sticky, but when you're rolling it out make sure and not use too much flour. For easier rolling, I lightly wet the palms of my hands.
When the cookie bars come right out of the oven, slide a spatula gently under them because they will stick to the pan just a little bit and it's easier to cut them.
If making this for a holiday platter, use green and red decorating sugar.
Nutrition Information:
Yield: 48 Serving Size: 1 cookieAmount Per Serving: Calories: 91Total Fat: 2gSaturated Fat: 0gTrans Fat: 0gUnsaturated Fat: 2gCholesterol: 12mgSodium: 37mgCarbohydrates: 17gFiber: 1gSugar: 10gProtein: 2g
Nutrition Values are Approximate


Can you just press the entire mixture into a parchment lined baking sheet and cut them when they’re done baking?
Sure, Shannon. That actually would make them easier to bake!
I have a very similar recipe from my grandmother except directed to bake 10 to 12 minutes. Of course, they came out half raw. Your directions solved that problem. I am so very glad you published this. Rita
Great! Glad that helped, Rita.