Skip to primary navigation
Skip to main content
Skip to primary sidebar
Recipe Index
All Recipes
Appetizers
Bars
Beef
Breads/Muffins
Breakfast
Cakes
Candy
Casseroles
Chicken/Poultry
Cookies
Cooking for Two
Fruit
Holiday Recipes
Ice Cream/Sorbets
Lighter Recipes
Pasta
Pies/Pastry/Puddings
Pork
Seafood
Snacks
Soups, Stews, and Salads
Throw and Go! (Crockpot Recipes)
Vegetables/Side Dishes
Recipes Without Pictures
What’s Hot/What’s Not
About
Search
Home
»
Recipes
dessert
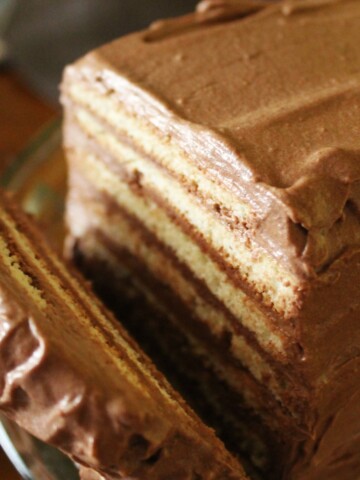
The Incredible Empire Torte